
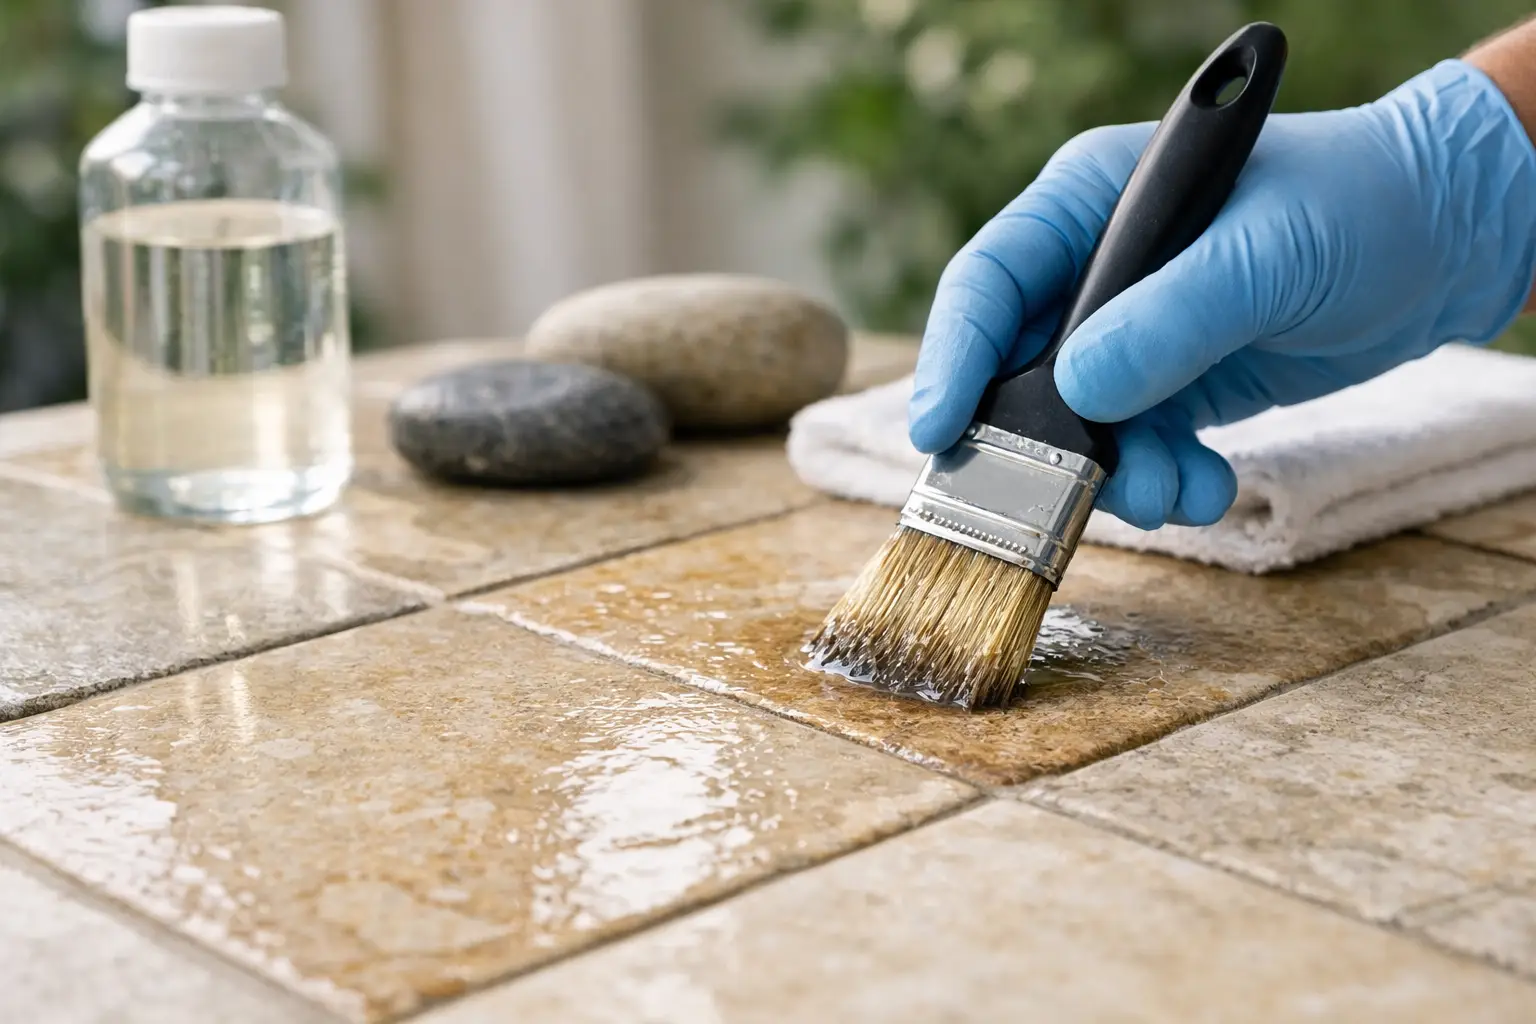
A pale ring around a marble vanity, dark spots on limestone paving or a dull patch on a granite benchtop can make an otherwise beautiful surface look tired long before its time. Knowing how to seal natural stone is one of the most effective ways to protect its finish, resist staining and preserve the refined character that made you choose it in the first place.
Sealing is not a cure for damage, however. It will not remove etching, scratches, chips or ingrained stains, and it cannot turn an unsuitable stone into a carefree surface. Done properly, it is a protective measure that supports the stone’s natural performance and makes ongoing maintenance far easier.
Why natural stone needs the right protection
Natural stone varies enormously in density and porosity. Marble, limestone, travertine and sandstone are generally more absorbent and may take in water, oils, cosmetics, food spills and airborne contaminants quickly. Granite is often denser, but some varieties still benefit from sealing, particularly in kitchens and high-use commercial areas.
A quality penetrating sealer works below the surface. It lines the stone’s pores to slow the entry of liquids while allowing the material to breathe. This gives you more time to wipe away a spill before it becomes a stain, without leaving a thick coating that can peel, flake or alter the natural feel of the stone.
That distinction matters. A topical coating may be appropriate for selected outdoor surfaces or specialist applications, but it is not automatically the best answer for every floor, benchtop or wall. The wrong product can leave a patchy sheen, trap moisture or create an artificial appearance that detracts from premium stone.
How to seal natural stone: start with the stone itself
Before choosing a sealer, identify the material, its location and the condition of the finish. A honed marble floor in a bathroom needs a different approach from flamed granite outdoors or polished travertine in a hotel foyer.
The simple water-drop test is a useful starting point. Place a few drops of clean water on an inconspicuous area and leave them for around 10 to 15 minutes. If the stone darkens while wet, it is absorbing moisture and may benefit from a penetrating sealer. If the water remains beaded on top, existing protection may still be active.
This is a guide rather than a diagnosis. Some stones can absorb oil differently from water, and a surface may be unevenly protected after years of cleaning, wear and spot treatment. In high-value interiors, a professional assessment is the safer choice before applying any product across the full surface.
Choose a sealer for the exposure, not just the label
For most internal natural stone, a premium penetrating or impregnating sealer is the preferred option. Look for a product formulated for your stone type and intended use, whether that is a kitchen benchtop, shower wall, bathroom vanity, foyer floor or external paving.
Food-area suitability is relevant for kitchen benchtops, while UV stability and weather resistance matter for balconies, pool surrounds and sandstone paths. In wet areas, the sealer should improve stain resistance without making the floor slippery or sealing in existing moisture.
Colour-enhancing sealers deserve particular caution. They can enrich the colour of slate, travertine or sandstone and create a dramatic wet-look finish, but the result is often permanent or difficult to reverse. Always test a small hidden section first and allow it to cure fully before committing to the entire area.
Prepare the surface with precision
Sealer should only be applied to stone that is clean, dry and free from residues. This is where many DIY sealing jobs fall short. If soap scum, cooking oils, old coatings or cleaning chemicals remain on the surface, they can interfere with penetration and leave inconsistent results.
Begin by removing dust and loose debris with a soft broom, vacuum or microfibre mop. Clean the stone with a pH-neutral stone cleaner, not a general-purpose bathroom spray, vinegar, bleach or acidic tile product. Acidic cleaners can etch calcite-based stones such as marble, limestone and travertine, causing dull marks that sealing will not disguise.
Rinse carefully where required and allow the stone to dry completely. Depending on the stone, weather conditions, ventilation and how much water was used during cleaning, this can take 24 to 72 hours. Exterior paving and shower areas often need longer than expected. Applying sealer to damp stone can compromise absorption and may lead to blotching.
If the stone is already etched, scratched, heavily stained or showing uneven sheen, restore it before sealing. Honing, polishing, stain treatment and repairs should be completed first. Sealing a damaged surface simply preserves the problem beneath the protection.
Apply the sealer in controlled sections
Read the manufacturer’s instructions carefully, as dwell times and application methods differ between products. Work in manageable sections, especially on floors, so the sealer does not dry on the surface before excess is removed.
Apply an even, generous coat using a clean microfibre applicator, lambswool pad or low-pile roller recommended for the product. Keep a wet edge and ensure the surface is evenly covered, including grout lines if they are suitable for sealing. Avoid flooding joins, corners and edges.
Allow the sealer to dwell for the stated time so it can enter the pores. Then buff away every trace of excess with clean, dry microfibre cloths before it dries. This step is critical. Residue left on polished stone can cure into a hazy film or sticky patches that are difficult to remove without specialist treatment.
Very porous stone may need a second coat. If so, apply it within the manufacturer’s specified recoat window, rather than guessing. More sealer is not always better. Once the pores are adequately protected, additional product often remains on top and creates problems rather than added performance.
Let the surface cure before normal use
The stone may feel dry within hours, but full curing takes longer. Keep foot traffic, water, food preparation and cleaning off the surface for the period stated on the product label. In a bathroom, avoid using the shower until the sealer has fully cured. On a benchtop, delay placing appliances, bottles and cooking ingredients back in position.
After curing, repeat the water-drop test in a discreet area. Water should bead or remain on the surface longer rather than immediately darkening the stone. Remember that a sealer gives you time to clean a spill. It does not make natural stone stain-proof or acid-proof.
Maintain the finish so sealing lasts
Daily care has more influence on the appearance of natural stone than most people realise. Wipe spills promptly, particularly red wine, oils, turmeric, coffee, fruit juice, cosmetics and acidic foods. Use pH-neutral cleaning products and clean microfibre cloths or mops. Avoid abrasive powders, harsh degreasers and products marketed for removing limescale unless they are specifically approved for your stone.
Use coasters beneath drinks, trays beneath toiletries and felt pads under decorative objects. On external paving, regular sweeping prevents gritty debris from abrading the surface. In commercial foyers, effective entry mats reduce the fine grit that gradually dulls polished stone under foot traffic.
How often stone needs resealing depends on its porosity, exposure and maintenance regime. A lightly used internal granite surface may hold protection for years, while a porous sandstone path exposed to Sydney weather may require more frequent review. Test performance rather than sealing to a fixed calendar date.
When professional stone sealing is worth it
Professional sealing is particularly valuable where there is significant area, premium stone, mixed materials or existing surface damage. A specialist can identify the stone accurately, remove residues and previous coatings, correct etching or uneven finish, and select a sealer that complements the desired appearance.
This is especially relevant for marble bathrooms, limestone floors, heritage sandstone, large-format stone tiles and presentation-critical commercial spaces. The cost of a tailored restoration and sealing treatment is often modest beside replacement, particularly when the existing stone still has years of serviceable life beneath its wear.
Grand Stone Restoration approaches sealing as part of a complete surface-care process, ensuring the stone is properly prepared and its natural elegance remains visible after protection is applied.
A well-sealed stone surface should still look and feel like stone: considered, distinctive and quietly luxurious. Protect it early, maintain it with care, and address signs of wear before a minor mark becomes a costly restoration project.