
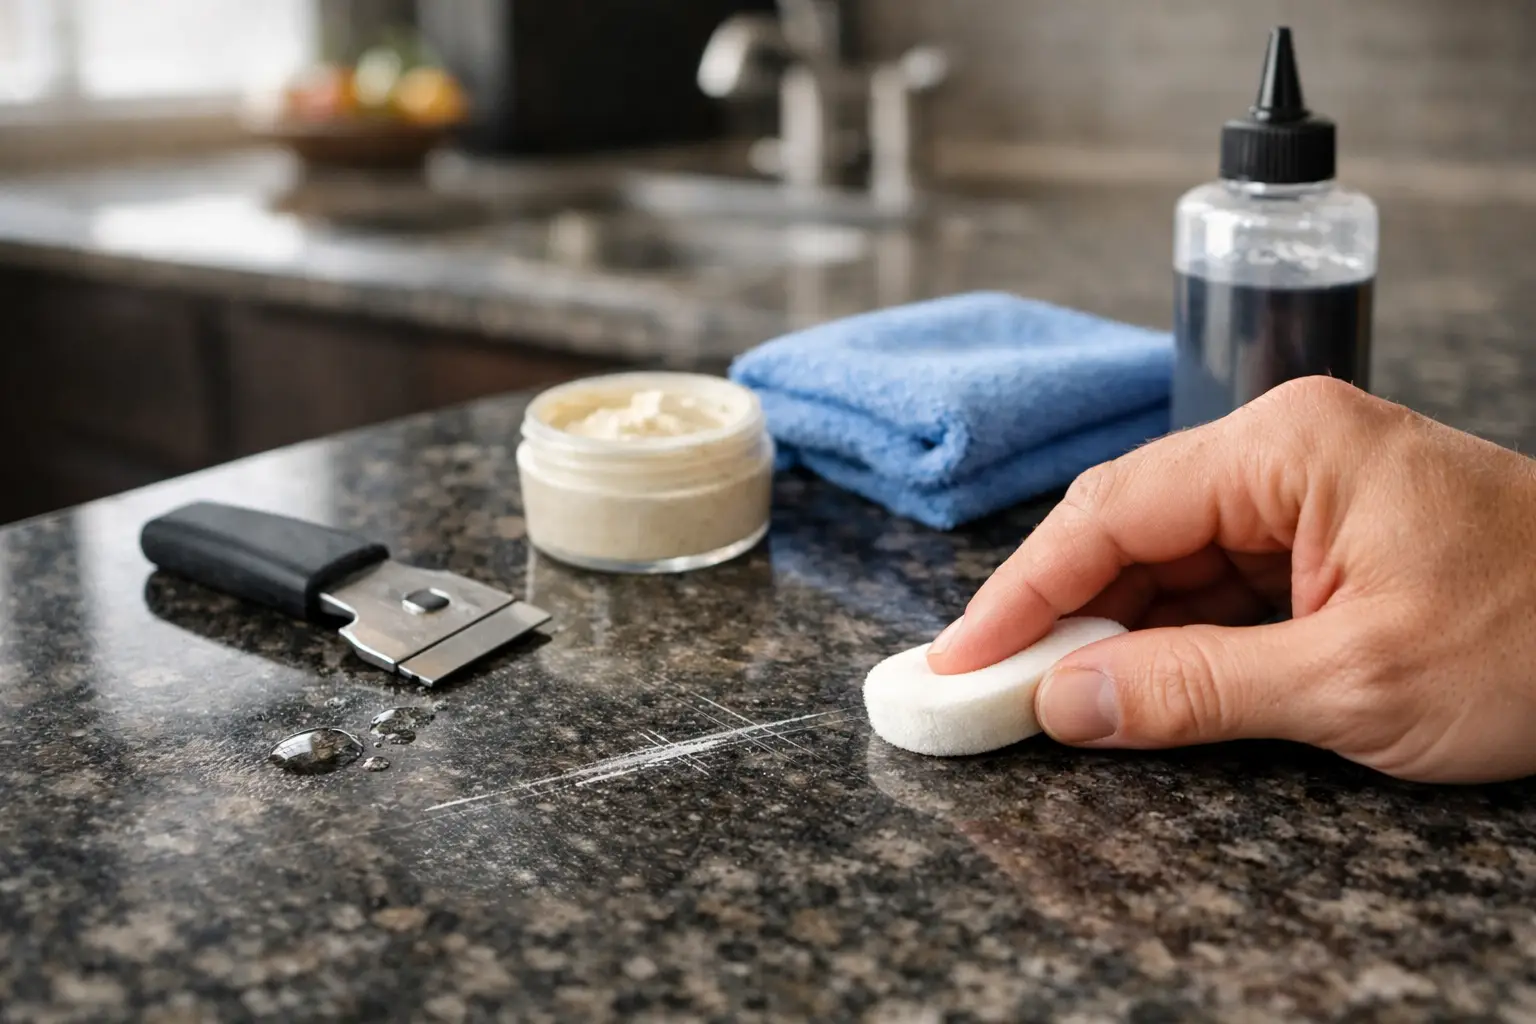
A scratch on granite can be surprisingly visible, particularly across a dark polished benchtop where light catches every disrupted line. Yet not every mark calls for aggressive polishing or replacement. This granite scratch repair guide explains how to identify the damage, choose a safe response and know when specialist restoration will produce the clean, even finish your surface deserves.
Granite is exceptionally hard, but it is not indestructible. Grit dragged beneath a planter, a rough ceramic base, metal hardware or abrasive cleaning tools can mark the polish. The right repair depends on whether the mark sits in the sealer, the surface polish or the stone itself.
First, determine whether it is truly a granite scratch
Many apparent scratches are residue marks, mineral deposits or scuffs transferred from another object. Before treating the stone, clean the area with a pH-neutral stone cleaner and a soft microfibre cloth. Dry it completely, then inspect it from several angles in natural and artificial light.
Run a fingernail lightly across the line. If your nail does not catch and the mark fades when the surface is damp, it may be superficial residue or a light disturbance in the finish. If the line is clearly felt, remains visible when dry and catches the light as a dull streak, the polish or granite surface has likely been scratched.
A scratch that looks pale or white on a black or deep-coloured granite surface is often more noticeable than it is deep. The damaged section reflects light differently from the surrounding polished stone. This is why a repair is not simply about removing the line. It must also reinstate the surrounding clarity, gloss and consistency.
Do not confuse scratches with cracks or chips
A crack follows a natural fissure or runs through the slab and may extend beneath an edge, sink cut-out or seam. A chip removes material, often leaving a sharp or irregular divot. Both require a different repair process involving colour-matched resin, stabilisation and careful finishing.
If a scratch is near a joint, a granite edge, a cooktop cut-out or a loose section of flooring, avoid DIY sanding. These areas can be structurally sensitive, and an otherwise small repair can turn into a visible patch or further damage.
Why granite scratch repair requires a measured approach
Granite contains hard minerals such as quartz and feldspar, but its composition varies from slab to slab. Some granites are dense and uniform, while others include softer mineral veins, natural pits and contrasting crystals. A method that improves one surface may leave another uneven or hazy.
Polished granite has a factory-like reflective finish created through a sequence of controlled mechanical steps. Attempting to remove a scratch with a coarse abrasive, general-purpose rubbing compound or steel wool can flatten the surrounding polish. The original line may become less defined, but a larger cloudy patch can take its place.
This is particularly relevant on premium kitchen benchtops, bathroom vanities and commercial lobby floors, where reflected light makes variations obvious. The goal is not merely to make damage less visible. It is to blend the repaired area into the rest of the surface without changing its colour, texture or level of sheen.
Granite scratch repair guide: what you can safely do
For very light surface marks, start conservatively. Remove loose grit with a clean, damp microfibre cloth, then wash the area with a stone-safe cleaner. Do not use vinegar, lemon, bleach, cream cleansers or bathroom sprays. Granite is more acid-resistant than marble, but harsh products can still affect sealers, leave residues and compromise the appearance of adjacent materials.
Once dry, examine the mark again. Sometimes the issue is a worn or contaminated sealer rather than damage to the granite itself. A professional-grade impregnating sealer can enhance stain resistance, but it will not remove a scratch. Applying additional sealer over a genuine scratch may temporarily alter how it reflects light, yet it does not restore the polished surface.
If the mark is confined to an inconspicuous area and feels exceptionally shallow, a granite-specific polishing product may improve it. Test first in a hidden position and follow the manufacturer’s directions precisely. Stop immediately if the surface turns dull, changes colour or develops a visibly different gloss level.
DIY products are best regarded as a limited option for minor scuffs, not a universal repair system. Avoid drill-mounted abrasive pads unless you have the equipment, product knowledge and practical experience to control pressure, speed and heat. Localised over-polishing is one of the most common causes of avoidable granite damage.
When professional restoration is the better investment
A specialist should assess scratches that are deep enough to catch a fingernail, extend across a highly visible area, appear on honed or leathered granite, or occur alongside chips, stains or lippage. Professional restoration is also the sensible choice where the stone has a complex pattern. Matching a repair within a heavily veined or crystalline slab requires careful judgement, not a one-size-fits-all kit.
The restoration process typically begins with a detailed inspection of the granite’s finish, colour, damage depth and previous sealing history. The technician then selects an appropriate sequence of diamond abrasives, honing and polishing compounds to refine the damaged area. On a polished surface, the final stages are designed to rebuild clarity and reflectivity without creating a hard-edged repair zone.
For deeper scratches, the surrounding surface may need to be progressively honed and polished to achieve an even result. This is the key trade-off: a deeper mark can often be removed, but complete removal may require treating a wider area. An experienced stone restoration specialist will recommend the least invasive process that delivers a refined, consistent finish.
Where granite has chips or open fissures, a colour-matched resin repair may be completed before honing and polishing. Once cured and levelled, the repair can be blended to preserve both the surface’s durability and its visual elegance. This approach is far more cost-effective and less disruptive than replacing an otherwise sound stone benchtop or floor section.
Protect the finish after the repair
A successful granite repair should be followed by practical protection. On benchtops, use trivets beneath hot cookware and place felt or rubber pads under appliances, decorative trays and canisters. Lift heavy objects rather than dragging them across the stone. Ceramic and unglazed terracotta bases are particularly capable of leaving fine scratches.
For granite flooring, place quality mats at entries to capture abrasive sand and grit before it reaches the stone. Use soft mop heads and pH-neutral cleaning products, and ensure furniture feet have clean protective pads. In busy commercial spaces, programmed cleaning and periodic maintenance protect the finish far better than waiting for visible wear to build up.
Sealing should be based on the granite’s absorption rate and use, rather than a fixed calendar date. A sealer assists with stain resistance, especially around food preparation areas and vanities, but it does not make the stone scratch-proof. Regularly wiping spills and removing gritty debris remain the simplest ways to preserve a polished surface.
A refined finish is worth protecting
Granite earns its place in high-value interiors because it combines natural character with remarkable strength. When scratches interrupt that finish, prompt, precise treatment can restore the surface’s depth and brilliance while avoiding the unnecessary cost of replacement.
For Sydney properties where presentation matters, Grand Stone Restoration can assess scratched granite and recommend a tailored repair, polishing and protection program. The best result is a surface that looks naturally renewed, not visibly repaired.