
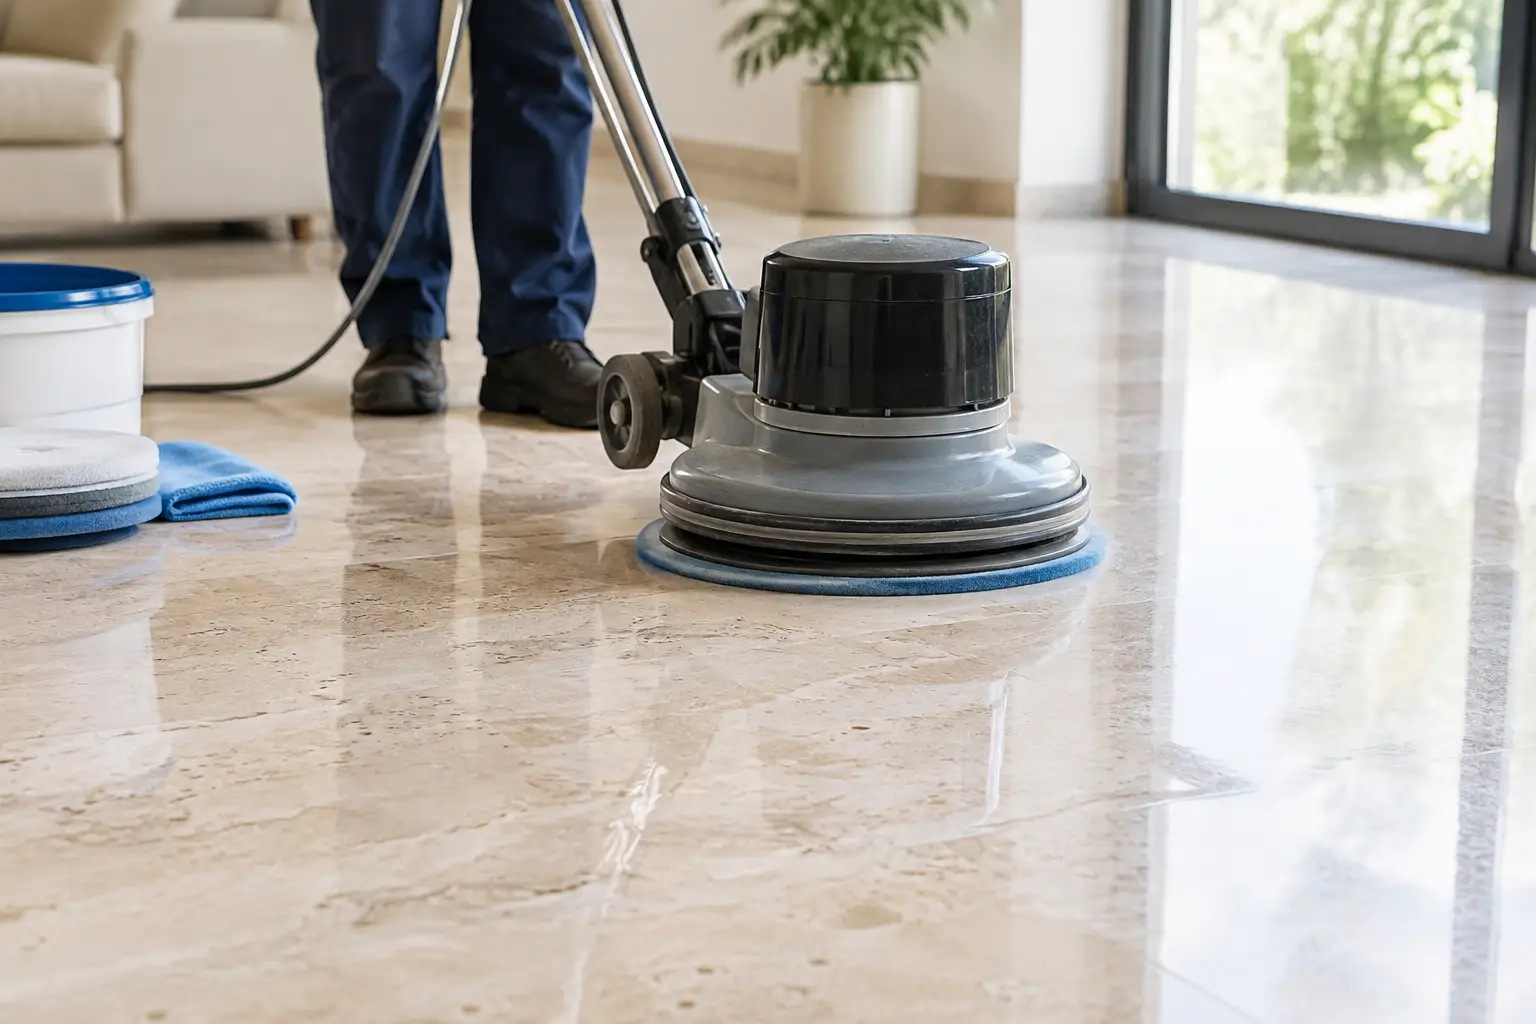
Travertine can look exceptionally refined under natural light, but its soft, porous structure means a dull floor cannot simply be buffed back to life. Knowing how to polish travertine floors begins with identifying what has changed in the surface: light wear, ingrained soil, scratches, etching, failed sealer or uneven filler. The right process restores clarity and lustre without thinning the stone, opening its pores or leaving an artificial-looking shine.
For a premium residential entry, bathroom or commercial foyer, the goal is not always a mirror finish. The best result is a finish that suits the stone, the room and the level of foot traffic, while remaining practical to maintain.
Start by assessing the travertine finish
Travertine is a form of limestone, made largely of calcium carbonate. It reacts poorly to acidic products, including vinegar, citrus-based cleaners and many bathroom or grout cleaners. These products can etch the surface, leaving pale, dull patches that may look like stains but are actually physical damage to the stone.
Before polishing, establish whether the floor was originally honed, polished, tumbled or brushed. Honed travertine has a smooth, satin appearance with little reflection. Polished travertine is more reflective and formal, often used in higher-end interiors. Tumbled and brushed finishes have deliberate texture and should not be polished to a high sheen, as doing so can compromise their intended character and slip resistance.
Look closely across the floor in raking light. Fine scratches and general loss of sheen often respond well to mechanical honing and polishing. Deep scratches, chips, loose or missing fill, widespread etching and uneven lippage require more substantial restoration. If the floor appears patchy after mopping, the issue may be residue or deteriorated sealer rather than the stone itself.
A small water-drop test can also help. Place a few drops of clean water on an inconspicuous area. If the stone darkens quickly, it is likely due for sealing once restoration is complete. This test does not diagnose every issue, but it gives a useful indication of absorbency.
Clean thoroughly before any polishing work
Polishing over dirt, grit or cleaning residue is a reliable way to produce uneven results. Start by dry vacuuming with a hard-floor attachment or sweeping carefully, especially along skirting boards, grout lines and the edges of filled holes. Loose grit acts like sandpaper under a polishing pad.
Wash the floor with a pH-neutral cleaner formulated for natural stone, diluted precisely as directed. Use clean water and a well-rinsed microfibre mop or a suitable floor machine with a soft pad for larger areas. Avoid flooding travertine, particularly where grout, filler or subfloor conditions are uncertain.
After cleaning, rinse away all product residue and allow the floor to dry fully. A floor that feels sticky, hazy or streaky after drying may still carry detergent film. In that case, repeat the rinse rather than reaching for a stronger chemical. Travertine responds best to controlled, material-specific treatment, not aggressive cleaning.
Honing comes before polishing
The most common mistake in DIY travertine restoration is trying to create shine before removing the damage that prevents light from reflecting evenly. Polishing is the final refinement. Honing is the corrective stage that levels fine scratches, etching and wear.
For lightly dulled polished travertine, a specialist marble and limestone polishing compound, used with the correct white pad or polishing pad, may improve the finish. Keep the product damp, work in small manageable sections and do not allow slurry to dry on the surface. Use minimal pressure and make overlapping passes rather than concentrating on one area. Excess heat or prolonged friction can create an uneven sheen.
Where etching or scratches can be felt with a fingernail, polishing compound alone will not resolve the problem. The floor generally needs progressive diamond honing: a sequence of increasingly fine abrasive pads used with water and professional equipment. The initial grit must be selected carefully. Starting too aggressively can remove more material than necessary, expose aggregate within the stone or leave visible honing marks that require extra stages to correct.
Each honing stage removes the marks created by the previous one. Skipping grits is a false economy, particularly on a large open floor where inconsistency is easy to see in sunlight. Once the surface is evenly refined, a final polishing stage restores the desired level of reflection.
Treat holes, cracks and grout issues first
Travertine naturally contains voids and pits. Some are intentionally left open for a rustic finish, while others are filled during manufacture or previous restoration. If the filler is cracked, missing or discoloured, repair it before final honing and polishing. Colour-matched resin or cement-based fillers may be appropriate depending on the location, floor movement and existing finish.
Grout should also be assessed before the final polish. Cracked, recessed or stained grout can undermine the appearance of an otherwise beautifully restored floor. However, avoid acidic grout cleaners and harsh scrubbing around travertine edges. The stone and grout need compatible treatment, particularly in bathrooms, kitchens and high-traffic commercial spaces.
How to polish travertine floors to the right sheen
Once the floor is clean, repaired and properly honed where needed, polishing should be guided by the desired finish rather than the assumption that glossier is always better. A polished travertine foyer can deliver a luxurious, light-reflective finish. In a wet bathroom or busy family living area, a soft honed sheen may be both safer and more forgiving.
Work methodically from the farthest point of the room towards the exit. Keep edges and corners in mind, as they are easily missed by larger machinery and can appear dull beside a freshly polished main field. Rinse the floor thoroughly after polishing to remove all compound residue, then inspect it once dry from several angles. Under overhead lighting alone, unevenness can be hard to detect.
A professional restoration process uses the appropriate machine weight, diamonds, polishing products and water control for the specific stone. This matters because travertine varies in density, fill pattern and prior treatment. A floor that has been repeatedly coated with topical sealers, for example, may need a different approach from a newly installed, factory-filled tile.
Seal the floor after restoration
Sealing is not the same as polishing. A quality penetrating sealer helps slow the absorption of water, oils and everyday spills, but it does not create the shine or repair surface damage. Apply it only after the travertine is completely clean and dry, and after the polishing process has been completed.
Use a breathable impregnating sealer suited to calcareous natural stone. Apply an even, controlled coat and remove excess product within the stated dwell time. Leaving sealer to dry on the surface can create streaks, hazing or tackiness that diminishes the clarity of a polished finish.
High-use zones near entrances, kitchen islands and dining areas may need more frequent resealing than low-traffic rooms. The timing depends on use, cleaning practices and the porosity of the specific stone, rather than a fixed calendar rule.
Protect the finish between professional services
A polished travertine floor is durable when it is cared for correctly, but it is not maintenance-free. Dust and grit should be removed regularly with a soft broom or vacuum designed for hard flooring. Use a neutral stone cleaner for routine mopping and change the mop water often, particularly in busy households or commercial premises.
Place quality mats at external entries, use felt protectors under furniture, and wipe spills promptly. Wine, fruit juice, soft drink and bathroom products can etch travertine if left in contact with the surface. Never use vinegar, bleach, acidic descalers, abrasive powders or generic shine products. Many supermarket floor products leave films that attract soil and make stone appear dull over time.
Outdoor travertine requires a different standard of care. It is commonly finished with texture for safety, and polishing it can reduce traction. Cleaning, stain treatment, regrouting, sealing and repair are usually more appropriate than pursuing a glossy surface outdoors.
When professional restoration is the better choice
Small areas of mild dullness may be manageable with suitable stone-safe products and careful testing. A whole floor with scratches, etch marks, uneven reflection, failed filler or heavy traffic wear is usually best entrusted to a stone restoration specialist. The cost of correcting an over-polished patch, chemical etching or a poorly applied coating can quickly exceed the cost of doing the work correctly at the outset.
For Sydney homes and presentation-critical commercial spaces, Grand Stone Restoration tailors honing, polishing, repairs and protective sealing to the condition and finish of the travertine. The result is a floor with renewed elegance and a treatment plan designed to protect that investment.
Travertine rewards restraint. Restore only what the stone needs, choose a sheen that belongs in the space, and maintain it with stone-safe care. That is how a beautiful natural floor retains its character and its value for years to come.