
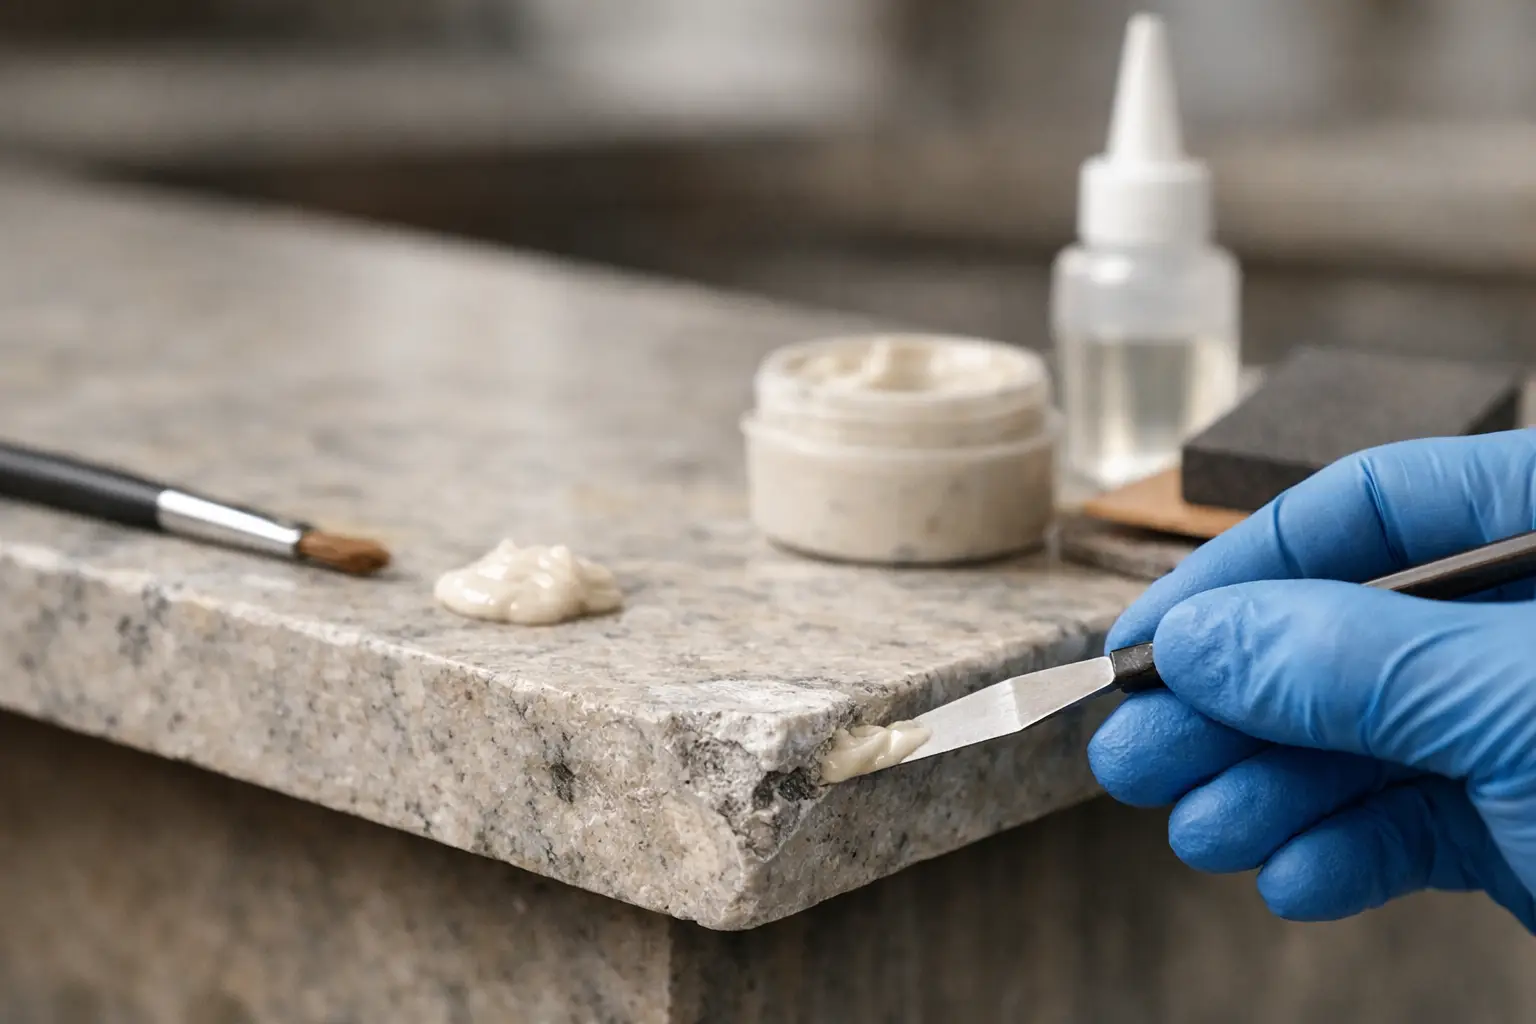
A chip in a marble vanity edge or kitchen benchtop can draw the eye every time the room is used. The good news is that knowing how to repair chipped stone is not simply about filling a hole. A lasting, discreet repair depends on identifying the material, rebuilding the damaged profile accurately and finishing the repaired area to match the surrounding surface.
For valuable natural or engineered stone, replacement is rarely the first or best answer. Skilled restoration can often return a chipped edge, corner or floor tile to a refined appearance while avoiding the cost, dust and disruption of removing the entire surface.
First, identify what has chipped
Stone is not one material. Marble, limestone, travertine, granite, terrazzo, porcelain tile and engineered stone each respond differently to impact, moisture, heat, polishing and repair resins. A method that performs well on a pale honed marble edge may leave an obvious patch on a patterned granite benchtop.
Natural stones such as marble and limestone are generally softer and more porous. Their chips can have a rough, chalky appearance, particularly around bathroom vanities, thresholds and table edges. Granite is harder but can still chip at arrises, cut-outs and unsupported corners. Engineered stone products are dense composite materials made with mineral aggregate and resin. They require colour-matched repair systems and careful finishing to avoid a dull or plastic-looking result.
Before any repair begins, inspect the damage closely. Is it a shallow chip at the edge, a missing corner, a crack extending from the chip, or a loose fragment that can be re-bonded? Also consider its location. A repair on the front edge of a benchtop is highly visible and needs exceptional colour and profile matching, while a chip on a busy floor tile may call for a different approach.
How to repair chipped stone: the professional process
A quality stone chip repair is a controlled restoration process, not a quick application of generic filler. The aim is to make the repair stable, colour-consistent and appropriately finished for the stone’s sheen.
Clean and prepare the damaged area
The chipped area must be free from surface contamination before adhesive is introduced. Cooking oils, soap residue, silicone, old sealers and cleaning chemicals can interfere with bonding. The damaged edges are then assessed for weak or fractured material. Any loose particles need to be carefully removed, but sound stone should never be aggressively ground away merely to make the repair easier.
Preparation also includes drying the stone thoroughly. Moisture trapped within a porous stone can affect resin adhesion and, in some circumstances, alter the appearance of the repair.
Reattach any recoverable fragment
If the broken piece is available and its edges align cleanly, re-bonding it is often the most natural-looking option. A specialist adhesive is selected for the stone type, the fragment is positioned precisely, and excess material is removed before it cures.
This is particularly valuable for veined marble, terrazzo and stones with distinctive movement. Reattaching the original piece preserves the natural pattern rather than attempting to recreate it entirely with a tinted compound. Even then, a fine repair line may remain under close inspection. The realistic goal is a repair that disappears in normal use, not a promise that severe damage will become undetectable from a few centimetres away.
Build missing stone with a colour-matched resin
Where material is missing, a two-part stone repair resin or epoxy is normally used to rebuild the void. For premium results, the resin is tinted and sometimes blended with fine mineral pigments or aggregates to reflect the stone’s base tone, flecks and depth.
The compound is applied in controlled layers, allowing enough material to recreate the original edge or corner. On a square benchtop edge, the repair needs a crisp, straight arris. On a bullnose profile, it must follow the same soft radius as the rest of the slab. This shaping stage is where experienced stone restoration makes a visible difference.
A standard off-the-shelf filler may be acceptable for a small, concealed chip in inexpensive tile. It is rarely suitable for polished marble, granite or engineered stone in a presentation-critical kitchen, lobby or bathroom. These products often cure at the wrong colour, shrink slightly, collect grime or leave a flat patch that catches the light.
Shape, hone and polish to match the finish
Once fully cured, the repair is carefully levelled and refined using appropriate abrasives. The sequence matters. Too much pressure can damage surrounding stone; too coarse an abrasive can leave scratches that are harder to remove than the original chip.
A honed surface should retain an even, low-sheen finish. A polished marble or granite surface needs the repaired section blended so it reflects light consistently with the rest of the slab. This is not simply polishing until it shines. It is a measured process of restoring the correct texture, clarity and lustre without creating a noticeably glossier halo around the repair.
On patterned materials, the technician may add fine colour detail during this stage. On engineered stone, finishing must be especially controlled, as excessive heat or abrasive work can affect the resin-bound surface.
Seal or protect where appropriate
After a repair, porous natural stone may benefit from a suitable penetrating sealer once the area is fully cured and prepared. Sealing does not make stone indestructible, nor does it prevent impact chips. It helps reduce the absorption of everyday liquids and makes ongoing care easier.
For vulnerable marble surfaces exposed to acidic spills, protective options may also be worth considering. An anti-etch film, for example, can provide an additional sacrificial layer in high-use kitchen or hospitality settings. The right choice depends on the stone, the finish and how the surface is used.
When a chip should not be treated as a simple repair
Some damage points to a broader issue. A chipped tile that sounds hollow, moves underfoot or has cracked grout around it may not be adequately secured to the substrate. Filling the visible break without addressing movement can lead to another failure.
Similarly, a benchtop chip beside a sink cut-out, cooktop opening or unsupported overhang can indicate stress in the slab. A crack running through the chip, particularly in a thin stone edge, may require stabilisation from beneath as well as a cosmetic repair. In these cases, the appearance of the surface and its structural condition must be considered together.
Extensive spalling, widespread flaking, severe staining or multiple failed repairs can also make replacement the more practical option. A reputable restoration specialist should be clear about this trade-off rather than recommending repair regardless of outcome.
Avoid these common mistakes
Do not use household caulk, grout, cement filler or a random adhesive to repair a stone benchtop. These materials are not designed to replicate stone, withstand regular cleaning or finish to a refined polish. They can also make a later professional repair more difficult.
Avoid testing harsh acids, bleach or abrasive powders around the damage. Marble, limestone and travertine can etch quickly, leaving dull marks larger than the original chip. It is also unwise to sand engineered stone at home. Cutting, grinding or dry sanding engineered stone can generate respirable crystalline silica dust, a serious health hazard. Any mechanical work should be undertaken with appropriate methods, controls and expertise.
Finally, do not delay if the chip has sharp edges or sits in a wet area. Apart from being unpleasant to touch, a damaged edge can collect water, soap residue and dirt. Early repair usually requires less rebuilding and produces a more elegant result.
Protecting repaired stone for the long term
Stone repairs last best when daily use is considered. Use chopping boards rather than striking utensils against benchtop edges, avoid resting heavy cookware on exposed corners, and clean with pH-neutral stone-safe products. Wipe acidic spills from marble and limestone promptly, especially lemon juice, vinegar, wine and bathroom products containing strong acids.
For floors and commercial entries, regular professional cleaning and maintenance protect both the repaired area and the surface around it. A restored chip will look more convincing when the entire floor has a consistent level of cleanliness and sheen.
A well-executed repair preserves more than a surface. It protects the investment, character and quiet luxury that made the stone worth choosing in the first place. For conspicuous chips or high-value stone, Grand Stone Restoration can assess the material and recommend a repair approach designed to restore its original elegance rather than merely cover the damage.